Mastering the Art of Perfect Fitting Dental Crowns
Crafting dental crowns that fit perfectly is both an art and a science. Dental professionals understand that a crown is more than just a restoration; it is a solution designed to restore function, aesthetics, and comfort for the patient. Achieving that perfect fit can feel challenging, but leveraging the right techniques and tools can significantly elevate your practice’s results. Below, we provide ten actionable tips to help you create flawless dental crowns that ensure patient satisfaction and long-term success.
1. Transition to a Digital Workflow
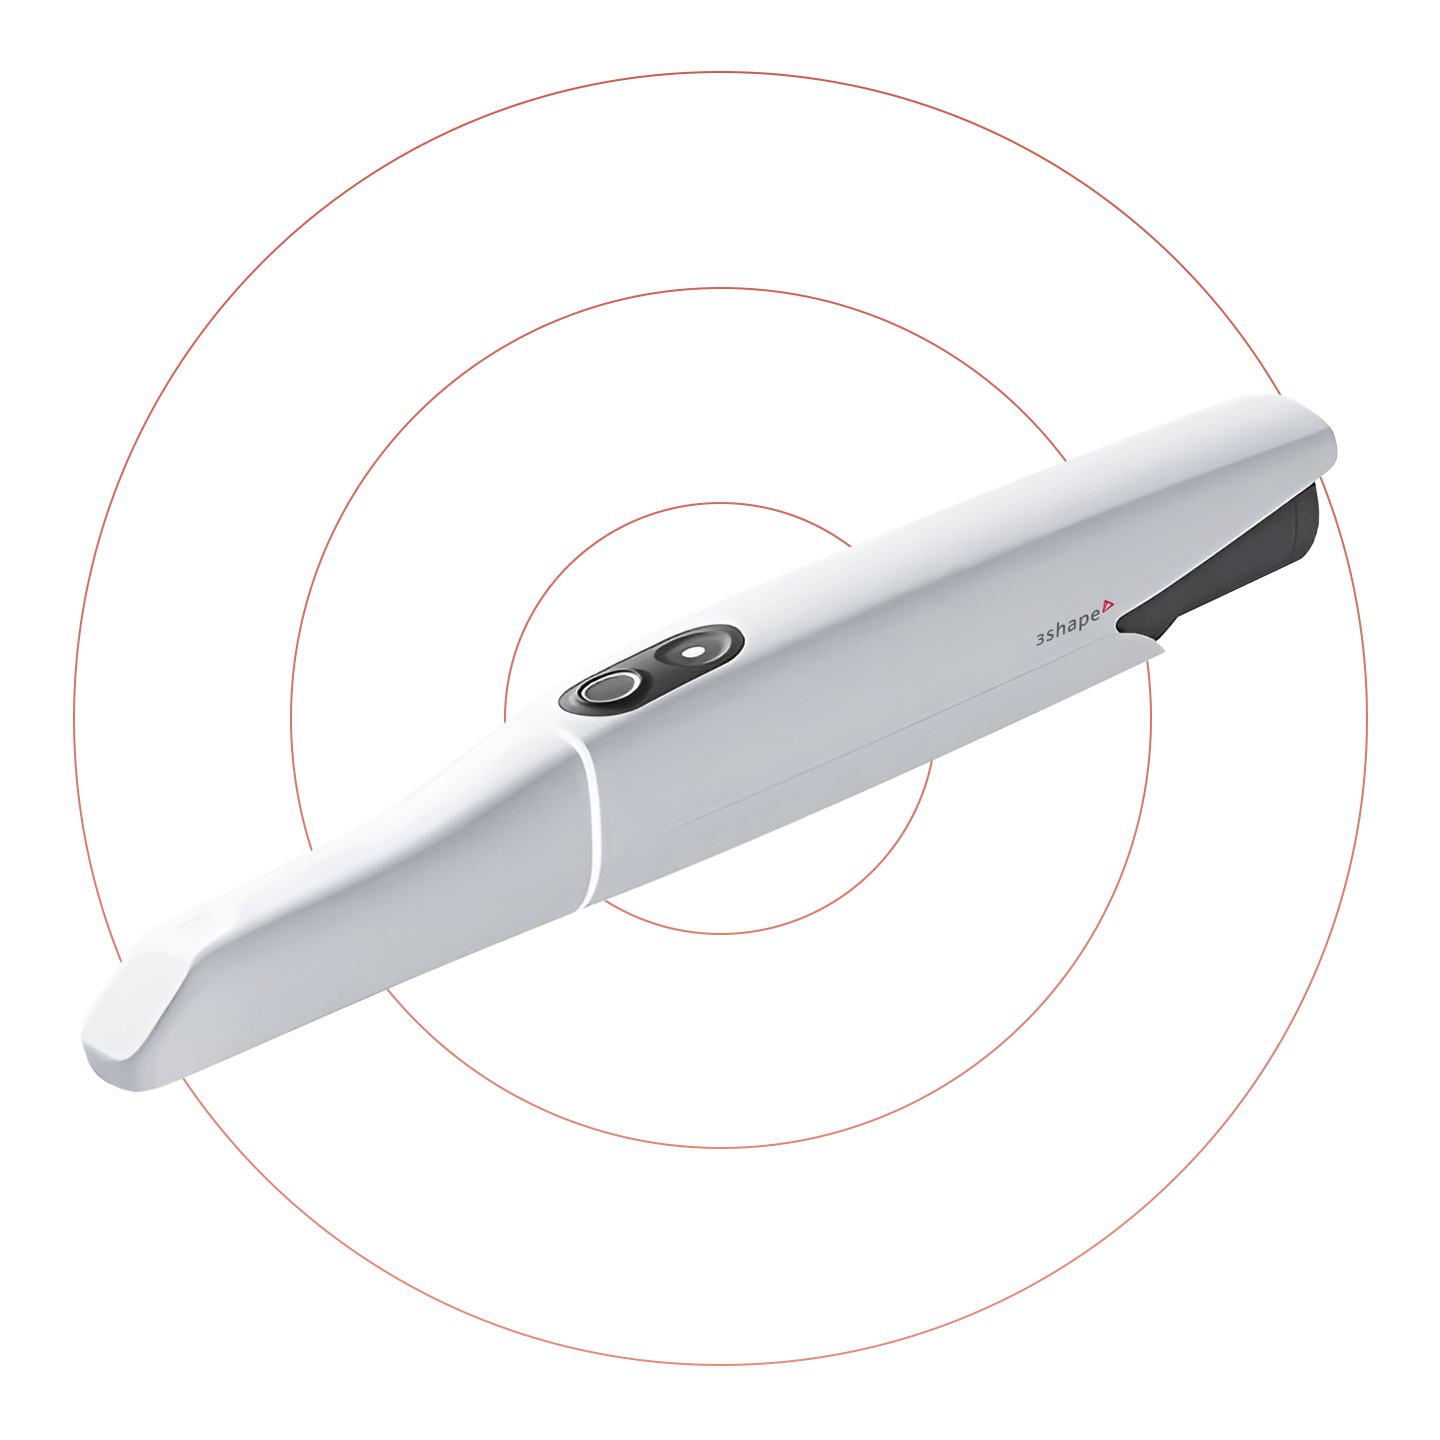
Digital dentistry is revolutionizing the way we approach crown fabrication. By using intraoral scanners, you can achieve a higher level of precision compared to traditional impressions. These scanners capture a detailed and accurate digital replica of the patient’s dental structure in far less time. Say goodbye to messy molds and inaccurate impressions; with digital workflows, you lay a strong foundation for improving crown fit and minimizing remakes.
2. Clear Steps for Efficient Full Arch Scanning
For accurate full arch impressions, follow these quick steps:
- Start Strategically. Begin with the occlusal surfaces, transition smoothly to the lingual, and finish with the buccal sides of each arch.
- Maintain a Consistent Motion. Move the scanner slowly and steadily without skipping areas, especially around the central incisors and molars.
- Align the Bite Clearly. Capture the buccal view while the patient bites firmly to ensure proper alignment of both arches.
This streamlined approach allows for precise and efficient scans without unnecessary complexity.
3. Prioritize Shade Accuracy
A crown that fits perfectly but looks out of place is still a failure. Aesthetics matter, which is why it’s important to capture accurate shade information. Use a standardized shade guide alongside a high-quality camera for taking photos. Ambient lighting is ideal for assessing color consistency. Share these images with your lab to produce crowns that blend flawlessly with surrounding teeth. Investing time here leads to superior results that both you and your patients can be proud of.
4. Perfect Marginal Integrity with Double Retraction
Poor crown margins can lead to long-term oral health issues. Utilizing the double cord retraction technique allows you to expose clear and detailed margins during the impression process. Place two cords in the gingival sulcus to adequately displace tissue, resulting in clean impressions and reducing the chances of future complications like open margins or gum irritation.
5. Mastering Your Prep
The preparation process plays a pivotal role in determining how well a crown will fit. Focus on precise reductions to ensure proper spacing for the material. Avoid over-prepping, which can weaken the dental structure, or under-prepping, which compromises aesthetics. Well-defined margins and occlusal clearance are essential for proper seating and long-lasting stability.
6. Use Smart Scan Analysis
Capturing accurate scans is just the first step. The next important task is reviewing and refining your scan data. Most digital systems include powerful analysis features, such as virtual models that highlight problem areas. Use these tools to double-check for distortion, incomplete margins, or gaps. Analyzing your scans thoroughly saves time later by eliminating potential errors before they’re sent to the lab.
7. Explore Interactive Collaboration with Labs
Lab technicians are your partners in creating the perfect dental crown. Work hand-in-hand with them by sharing live scan reviews or annotated notes. Many modern platforms allow instant communication with lab teams who can flag potential issues in real time. By addressing adjustments up front, you’ll save valuable time and reduce the likelihood of needing a remake.
8. Trial with Digital Simulations
Simulation tools allow dental professionals to preview how a crown will function and appear in the patient’s mouth. Programs like CAD/CAM software offer 3D renderings that provide insights into fit, contact points, and occlusion. Reviewing these designs with the lab ensures you’re delivering restorations that not only fit seamlessly but also enhance your patient’s bite and smile.
9. Select the Right Materials
Choosing the right material is vital for the crown’s success. Modern options such as zirconia and ceramic materials offer both durability and natural aesthetics. Keep these key points in mind:
- Ensure margins align with the material’s requirements, such as a chamfer or shoulder design for zirconia.
- Maintain 1-1.5 mm occlusal clearance for strength and longevity.
- Communicate with your lab about material-specific nuances to avoid issues.
Having clear specifications will ensure the finished crown meets your desired goals for functionality and appearance.
10. Utilize 3D Printing Technology
3D printing is one of the most exciting advancements in dental restoration. It allows you to create high-quality, temporary crowns that the patient can “test drive” before the final permanent placement. This approach is not only cost-effective but also ensures higher patient satisfaction, as they can provide feedback on fit and comfort prior to completion. The precision of 3D printing minimizes the need for adjustments, saving you time and enhancing your workflow.
Elevate Your Practice with Godent
These ten tips can serve as a blueprint for delivering crowns that look, feel, and function perfectly. At Godent, we understand the challenges modern dental professionals face, which is why we’re dedicated to providing tools and resources that make your job easier. From advanced scanning solutions to tailored digital dentistry workflows, our mission is to help you achieve excellence in every patient case.
Transform your crown creation process with Godent and see the difference in patient outcomes, satisfaction, and practice growth.